Making my own molds
Yes it happened!!!
What u can do with balloons!!!
When we go back to work from vacation
Our little hearts going to school.
Blog thought…..
Why I’ll always paint hydrangeas.
When Pinterest Says “Easy”… But Cement Has Other Plans 😂
Whoever said making concrete bowls is relaxing has clearly never worn more cement than they poured.
It starts with confidence:
“I’m just going to make one quick bowl.”
Three hours later…
Cement is in my hair.
My shirt is now “industrial gray.”
Every bowl I own is covered in olive oil.
My kitchen looks like a construction zone.
And somehow… there’s concrete on my elbow. HOW?!
Then comes the waiting game.
“Is it dry yet?”
Poke.
“Nope.”
Twenty minutes later…
“Now?”
Poke again.
Then comes the moment of truth…
Will it release from the mold beautifully?
Or will it crack into 47 emotional support pieces?
But when that bowl finally pops out…
😍✨
Suddenly I forget the mess, the dust, the sore arms, and the fact that I probably inhaled half a bag of cement.
And that’s how artists get tricked into making “just one more.”
My vacuum is tired.
My husband just shakes his head.
But my heart? It already has ideas for the next bowl.
Art isn’t always glamorous… sometimes it’s just dusty, messy, and covered in cement. 😂❤️
#ConcreteArt #MakersGonnaMake #ArtistLife #LadeanArt #ConcreteBowls #CreativeMess #HandmadeHome #WorthTheMess
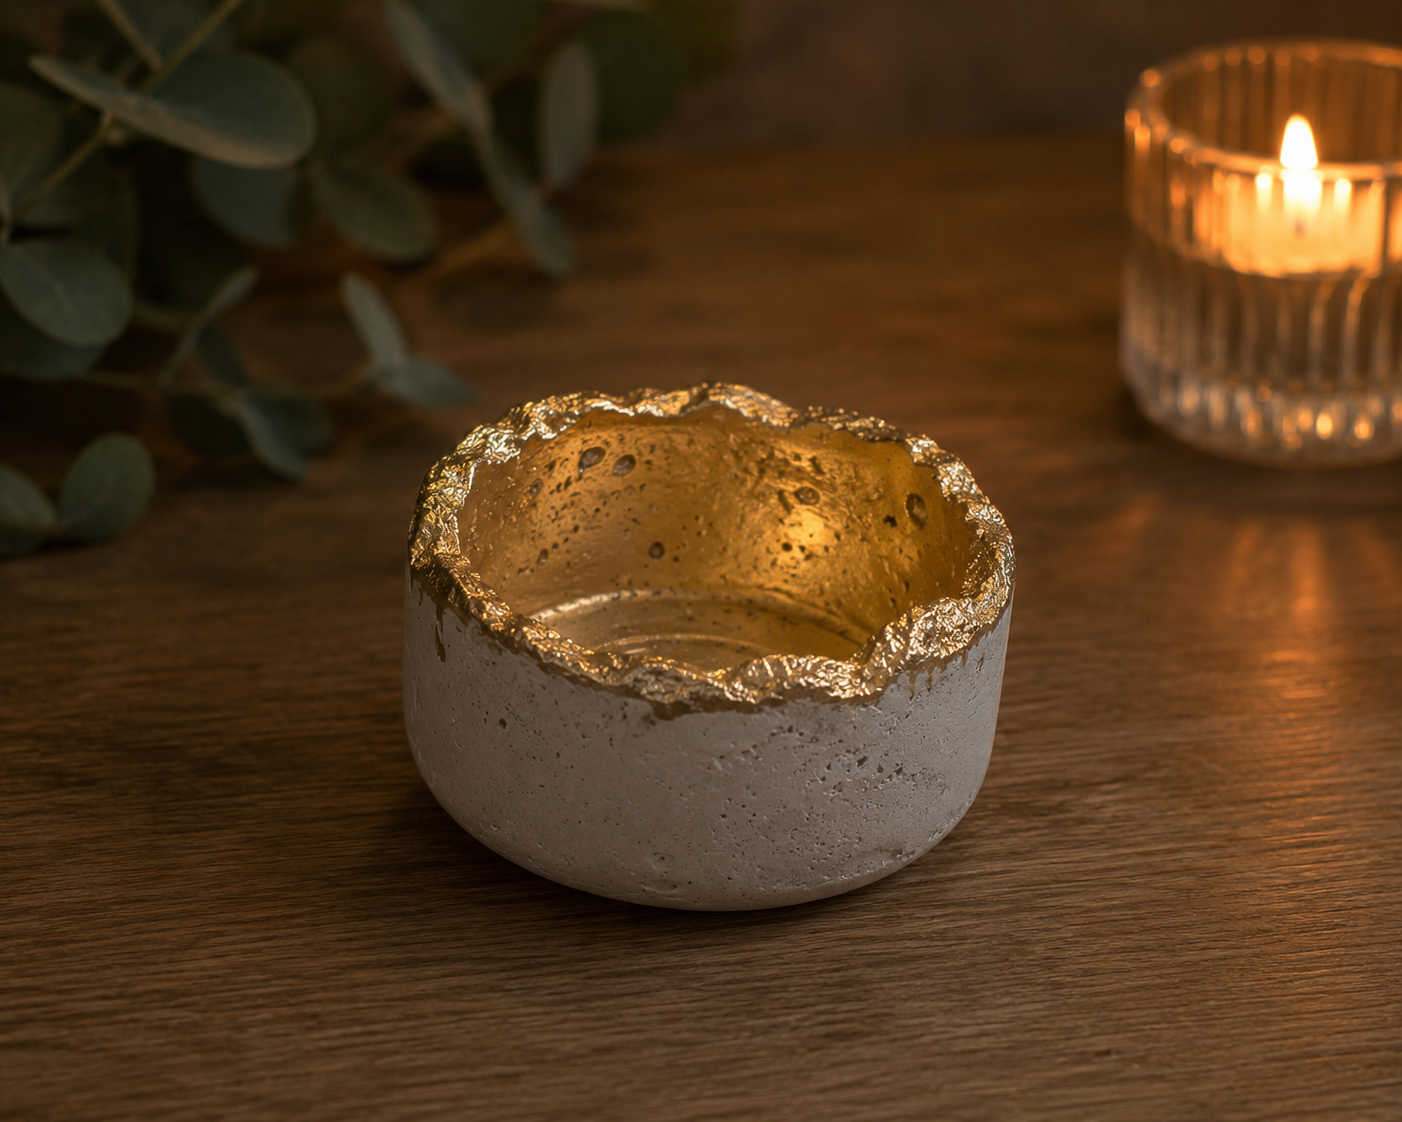
How I Make My Handmade Concrete Bowls
People ask me all the time, “How do you make your concrete bowls?”
While every artist has their own techniques, here’s a look at my process from start to finish.
Step 1: Choose the Mold
I start by finding two bowls that fit inside each other. The space between them becomes the thickness of the finished bowl. Sometimes the perfect mold comes from the dollar store!
Step 2: Prep the Mold
This step is a game changer.
I lightly coat both bowls with olive oil or another mold release so the concrete doesn’t stick. It makes removing the bowl much easier later.
Step 3: Mix the Concrete
I slowly add water to my concrete mix until it reaches a thick brownie batter consistency. Not too runny, not too dry.
A little patience here makes all the difference.
Step 4: Pour and Shape
I fill the larger bowl with concrete, then gently press the smaller bowl into the center.
Sometimes I add a weight inside the smaller bowl to keep it from floating while the concrete cures.
Step 5: Remove Air Bubbles
This is one of the most important steps!
I gently tap or vibrate the mold to help trapped air rise to the surface. Fewer air bubbles mean a stronger, smoother finish.
Step 6: Let It Cure
This is the hardest part…
Waiting.
I usually let my bowls cure for at least 24–48 hours before carefully removing them from the mold. Concrete actually continues getting stronger for weeks.
Step 7: Sand and Finish
Once it’s fully cured, I smooth rough edges with sandpaper or a sanding pad.
Then comes my favorite part…
Painting, adding texture, metallic finishes, waxes, or whatever inspiration has given me that day.
Every Bowl Has a Story
No two bowls come out exactly alike.
Sometimes they crack.
Sometimes they surprise me.
Sometimes the imperfections become my favorite part.
That’s the beauty of handmade art. Every piece carries its own personality and reminds me that God often creates the most beautiful things through imperfect processes.
“He gives beauty for ashes.” — Isaiah 61:3
Thank you for following along and supporting my creative journey. Every bowl is made with messy hands, a grateful heart, and lots of love.
– Kendra | LadeanArt ❤️